A new color for the cabinets you have.
Cabinet painting for kitchens in New Jersey and New York.
Get an estimate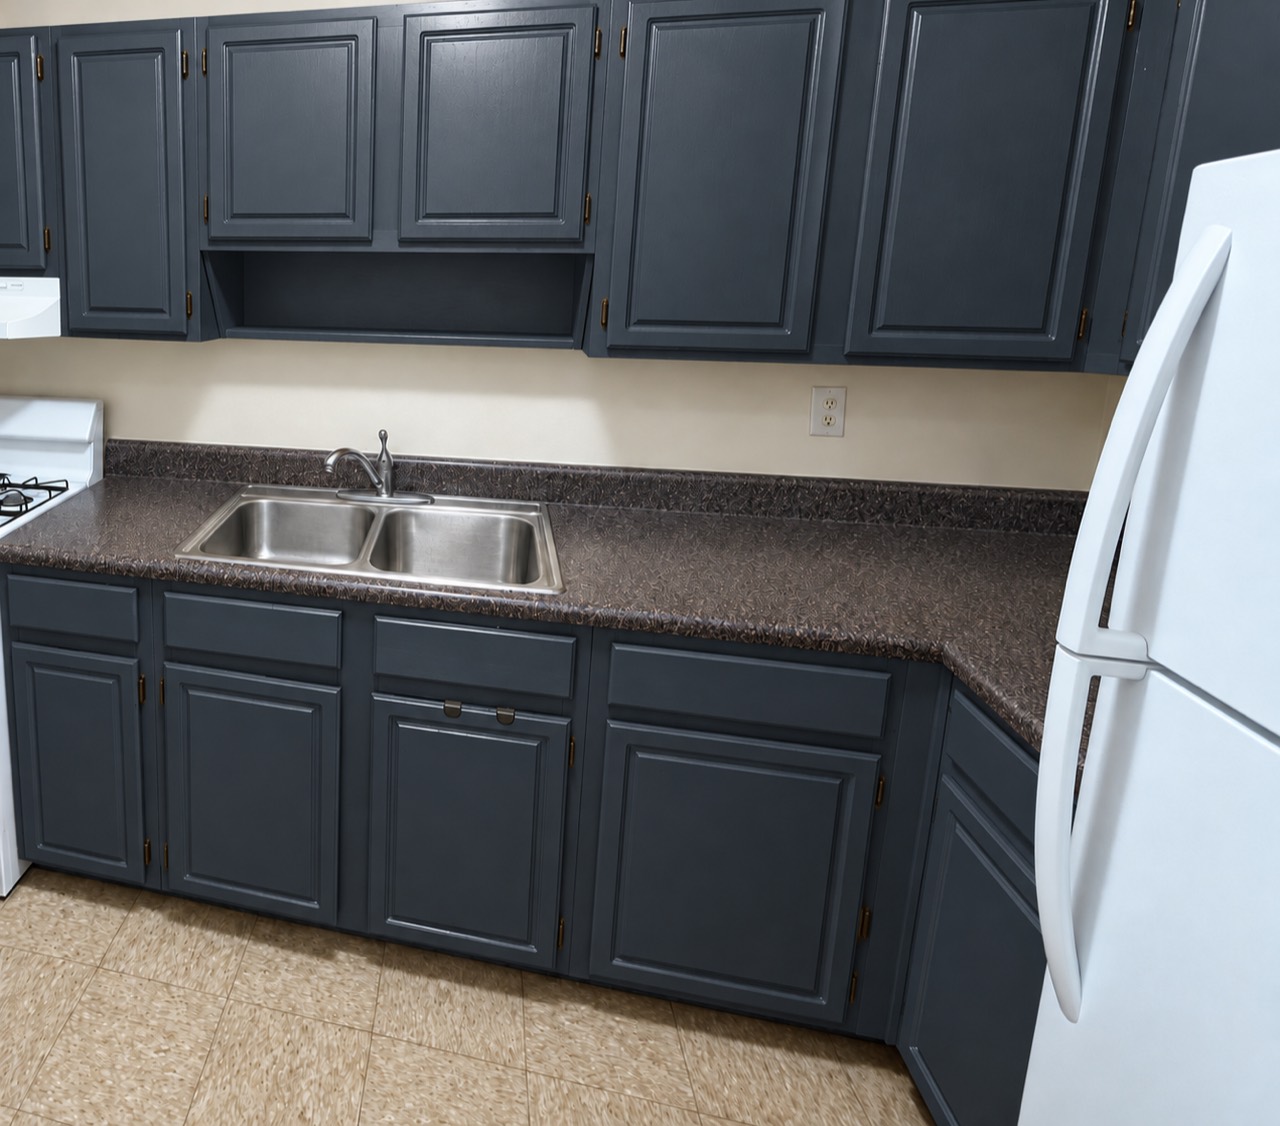
Keep the style you like.
If your cabinet layout works and you like the shape of the doors, a new finish may be the update you need.
We protect the work area, clean and degrease the surfaces, lightly sand where needed, and prime before applying low-odor cabinet paint. The existing material and finish guide the preparation and coating system.
Ask about paintingAgree on the scope first.
A cabinet painting project should identify every surface that will receive a new finish.
Doors & drawer fronts
Review their condition, the existing finish and the color you would like to achieve.
The visible cabinet surfaces
Discuss face frames, exposed ends, trim and any other surfaces that need to coordinate with the doors.
How we paint your cabinets.
Careful protection and surface preparation come before the new color. Here is what is included in our painting process.
Protect the kitchen
Before preparation or painting begins, we carefully cover the floors, countertops and appliances in the work area. Walls, backsplashes and adjacent surfaces outside the painting scope are masked off. Cabinet openings and areas outside the agreed painting scope are protected as needed.
Remove doors and hardware
Doors and removable drawer fronts are taken off so their edges and surfaces can be prepared properly. Handles, knobs and hinges are removed or protected as appropriate, and the parts are kept organized for reinstallation.
Clean and degrease
Every door and drawer front to be painted is thoroughly cleaned and degreased. We also clean the cabinet surfaces included in the scope, paying attention to cooking residue and the areas around handles. Cleaner residue is removed as directed, and the surfaces are allowed to dry.
Prepare the surface
We inspect the existing finish and lightly sand where needed to dull glossy areas, smooth minor roughness and prepare the surface for the selected coating system. Any agreed repairs are completed at this stage. Preparation dust is removed before primer is applied.
Prime before painting
Priming is a required part of our cabinet painting process. We use a primer suited to the cabinet material, existing finish and chosen paint. It creates the base for the finish coats. The primer is allowed to dry as directed; any required light sanding is followed by dust removal.
Apply the cabinet paint
We use low-odor paint suitable for cabinetry and apply even coats in the agreed color and sheen. The number of coats and the time between them follow the selected product’s requirements. Ventilation remains part of the work setup throughout application and drying.
Dry, reassemble and review
Once the finish is ready for handling, the doors, drawer fronts and hardware are reinstalled. We check alignment, operation and the painted surfaces, then remove the protective coverings and clean the work area. We explain how to care for the new finish while it continues to cure.
Low-odor paint.
Careful drying.
We use low-odor cabinet paint and plan ventilation around the work area. Some odor can still be noticeable during application and drying, depending on the products and conditions.
A finish can feel dry before it has fully cured. We follow the coating manufacturer’s drying and handling instructions and explain when to resume normal use and cleaning.
Before choosing a finish
Should I paint my cabinets or replace the doors?
Painting is worth considering when you like your current door style and the surfaces are suitable for a new finish. Replacing doors and drawer fronts is an option when you want a different profile. The cabinet condition needs to be reviewed before either approach is confirmed.
How much will my project cost?
Pricing depends on the size of the kitchen, existing surfaces, the selected finish or door style, and the work included. A project estimate should reflect those details.
How long does the work take?
The schedule depends on the agreed scope, preparation requirements and material availability. Timing will be confirmed for your project.
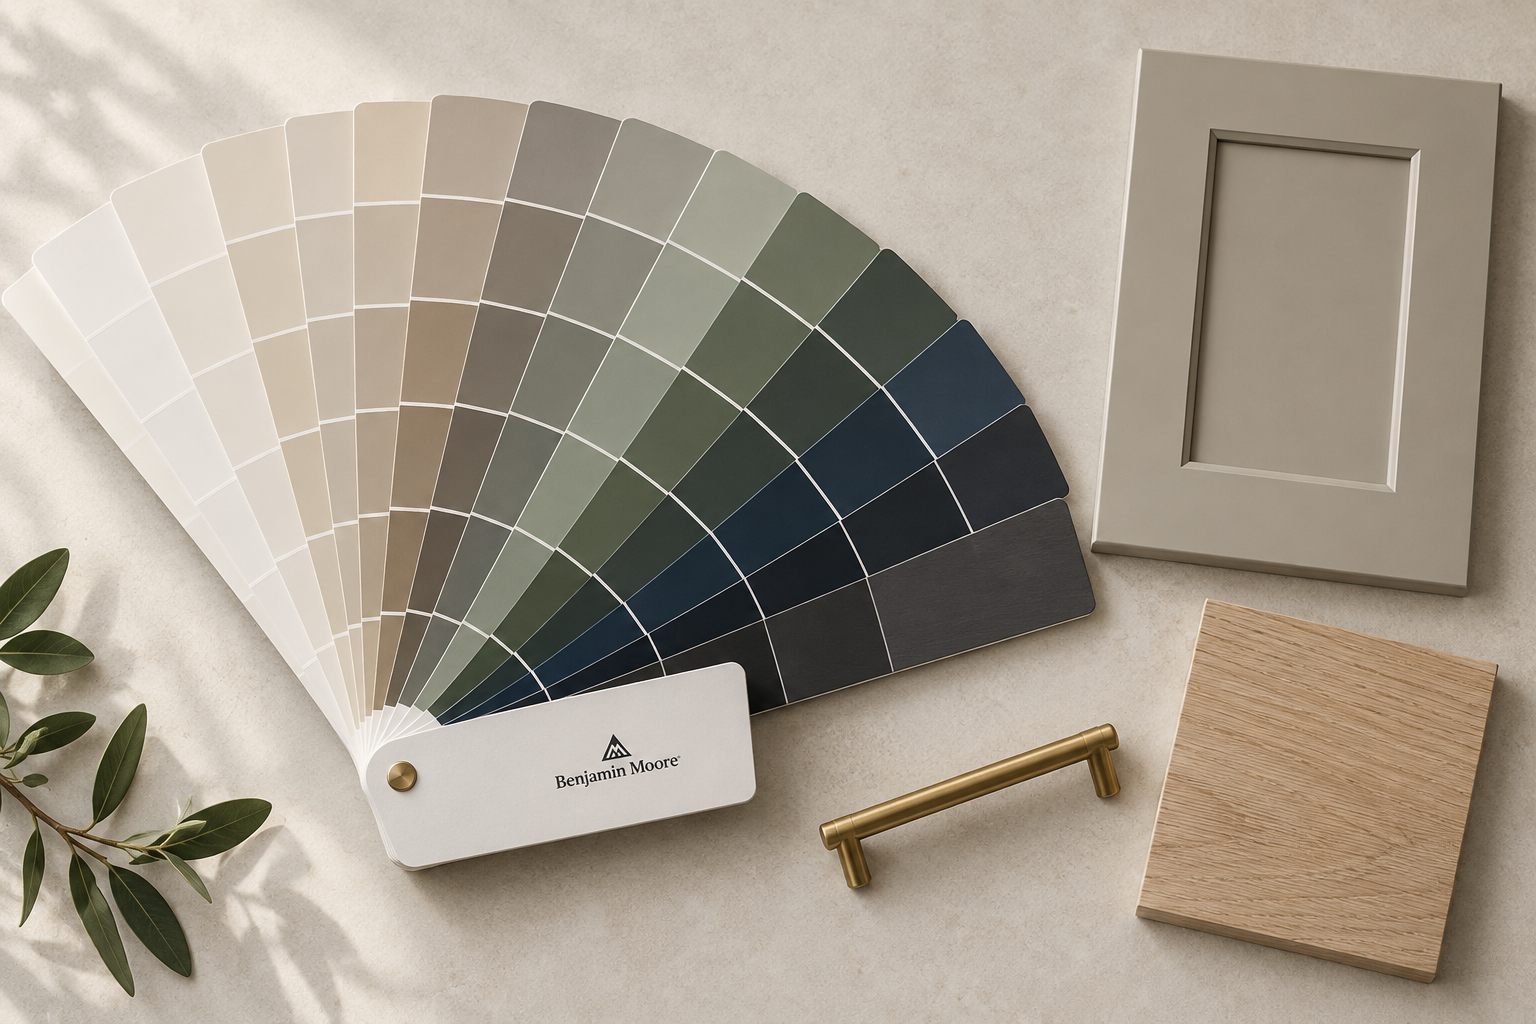
Color-selection illustration. Confirm your shade with physical samples in your kitchen.
Find a color that belongs in your kitchen.
Look at samples beside your countertop, backsplash and flooring. Compare them in daylight and under the lights you use at night.
Bring a Benjamin Moore or Sherwin-Williams color reference to the conversation. The final shade and finish system are confirmed for your project.
Discuss your colorPreparing for your project
How do you protect the rest of my kitchen?
We carefully cover floors, countertops and appliances in the work area, then mask walls, backsplashes and adjacent surfaces that are not being painted. Cabinet openings and areas outside the agreed scope are protected as needed.
Do the cabinets need sanding?
We lightly sand where the surface condition and selected coating system require it. The aim is to prepare the surface for adhesion and smooth minor roughness. Preparation dust is removed before the next coat.
Will the paint have a strong smell?
We use low-odor cabinet paint. Some odor may still be noticeable during application and drying. We plan ventilation for the work area and follow the product’s application and drying instructions.